RESOURCES

Foam Rolling 101: A Beginner’s Guide to Self-Myofascial Release
If you’ve ever felt tightness or soreness after a workout or from sitting at a desk all day, foam rolling might just be your new best friend. Foam rolling is a form of self-myofascial release—a self-massage technique that helps relieve soreness and improve muscle flexibility by targeting tight spots and trigger points in the fascia, the connective tissue surrounding your muscles. Trigger points, often called "knots," are small sensitive areas of contracted muscle fibers that can cause discomfort and restrict movement.
In this beginner’s guide, we’ll explore how to get started with foam rolling, how to choose the right tools, and techniques to effectively target different body parts. By the end of this guide, you’ll feel more confident using this powerful tool to enhance your fitness routine and overall well-being.

Why Foam Rolling Matters
Foam rolling is more than just a trendy fitness practice. Regularly rolling out your muscles can:
Improve Mobility: By loosening up tight muscles, foam rolling can help you move more freely.
Relieve Soreness: Foam rolling boosts blood flow to the muscles, speeding up recovery after workouts.
Enhance Performance: Flexible muscles are stronger muscles. By incorporating self-myofascial release into your routine, you can optimize your athletic performance.
Reduce Stress: The act of self-massage encourages relaxation and can even help lower stress levels.
Choosing the Right Foam Roller

Before diving into techniques, it’s essential to pick the right foam roller for your needs. Here are the main types to consider: Here are a couple of places you can purchase a foam roller:
(1) Amazon
(2) Perform Better
Soft Foam Rollers: Ideal for beginners or those with sensitive muscles, these offer gentle pressure.
Firm Foam Rollers: Better for deep tissue work, these provide more intense pressure.
Textured Rollers: These come with ridges and knobs that mimic the hands of a massage therapist, perfect for targeting trigger points.
Vibrating Rollers: These rollers add vibration to enhance the self-myofascial release process and are great for advanced users.
How to Foam Roll Effectively
Foam rolling is simple but requires the right approach to maximize its benefits. Follow these steps:
Warm Up First: Foam rolling is most effective when your muscles are slightly warm. Do a quick 5-10 minute cardio session before starting.
Target One Area at a Time: Focus on one muscle group for about 1-2 minutes. Roll slowly to identify tight or tender spots.
Apply Pressure Gradually: Once you find a tender spot, hold the roller there for 20-30 seconds to release the tension. Avoid rolling too quickly.
Breathe and Relax: Deep breaths help relax your muscles and make the rolling more effective.
Avoid Rolling Joints or Bones: Stick to the soft tissue to prevent discomfort or injury.
Techniques for Different Body Parts
1. Calves
Sit on the ground with the foam roller under your calves.
Place your hands behind you for support.
Lift your hips slightly off the ground and roll from your ankles to just below your knees.
2. Quads
Lie face down with the foam roller under your thighs.
Use your forearms for support and roll from your hip to just above your knees.
3. Back
Sit on the ground and place the foam roller under your lower back.
Cross your arms over your chest and slowly roll up to your shoulder blades.
Avoid rolling directly over your spine.
4. IT Band (Outer Thigh)
Lie on your side with the foam roller under your hip.
Support your upper body with your forearm and roll down the side of your thigh to just above the knee.

Tips for Beginners
Start Slow: If you’re new to foam rolling, begin with a softer roller and shorter sessions to avoid discomfort.
Be Consistent: Aim to foam roll 3-4 times a week for noticeable results.
Hydrate: Drinking water after a foam rolling session helps flush out toxins and aids in recovery.
Listen to Your Body: Foam rolling should feel uncomfortable but not painful. Stop if you experience sharp pain.
Common Mistakes to Avoid
Rolling Too Quickly: Slow and controlled movements are key to effective self-myofascial release.
Skipping Warm-Up or Cool-Down: Foam rolling is not a replacement for proper stretching or dynamic warm-ups.
Overdoing It: Avoid rolling over the same area for too long, as it can cause irritation or bruising.
Incorporating Foam Rolling Into Your Routine
Foam rolling can be done before or after a workout. Pre-workout rolling helps warm up the muscles, increase circulation, and improve flexibility, preparing your body for physical activity. Post-workout rolling, on the other hand, focuses on muscle recovery, relieving soreness, and reducing tension to aid in faster healing and relaxation. Pre-workout rolling helps warm up the muscles and improve flexibility, while post-workout rolling aids in recovery and relieves soreness. Many people also use foam rolling as part of their evening routine to unwind and promote relaxation.

Conclusion
Foam rolling is a versatile and effective self-massage technique that can transform your recovery routine and improve your overall mobility. Whether you’re an athlete looking to enhance performance or someone trying to relieve soreness after a long day, self-myofascial release with a foam roller is worth exploring. Start slow, stay consistent, and let foam rolling become a valuable part of your wellness journey.

Sheila Mann's Testimonial
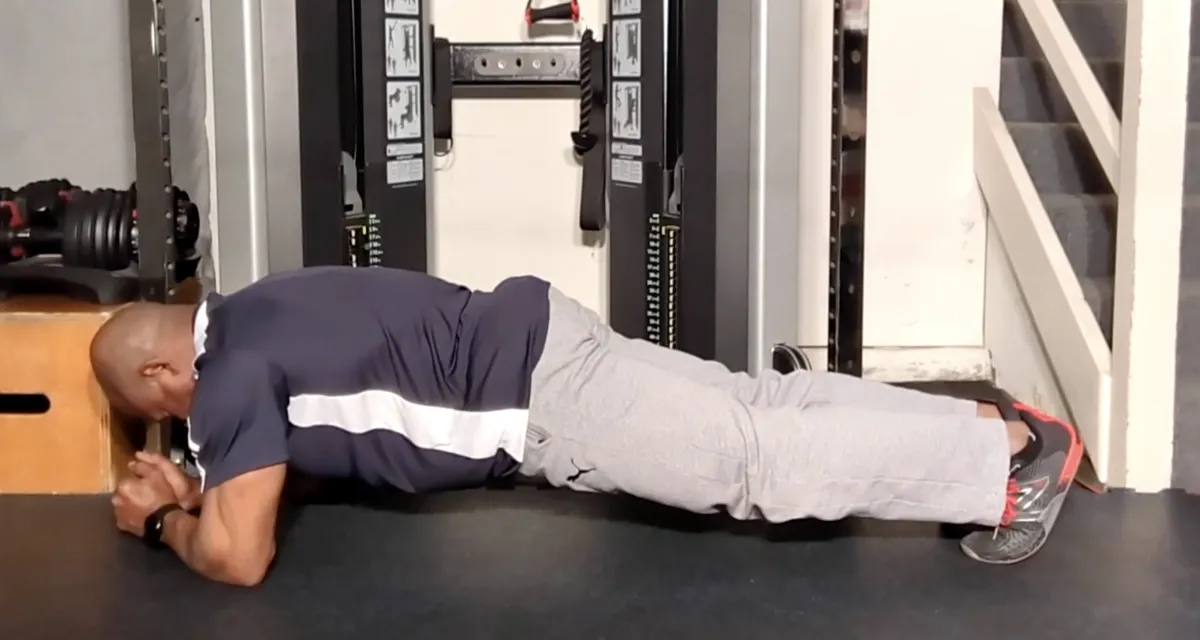
Sheila Mann doing Suspension Strap Push-ups on an elevated Single Leg.
Just another Saturday Workout Part 2
Spray Tan Fitness
Dreams or Goals
Intro to Self-Myofascial Release
Self Massage using the Energy F X Tube (Upper Body)
Self-Massage for Lower Body using Energy F X Tube (IT Band , Glutes)
Level 3
This is our advance level. In this level you will be asked to increase the challenges to your strength, balance and to some degree, your conditioning. We continue to focus on the major joints of the body (hips, shoulder, and knees) with the added challenge of resistance. This level also includes the added challenge of coordination, as many movements require the integrated movement of both upper and lower body.
Level 4
This is our premium level. In this level you will be asked to significantly challenge your body through increased demands on your functional core strength in movements that will significantly challenge your balance and strength simultaneously. Here we will ask you to begin to optimize your balance, core activation, and improved range of motion in a functional aspect – integrated movement of both upper and lower body, but at a higher level of accountability.